How to Test for a Blown Fuse
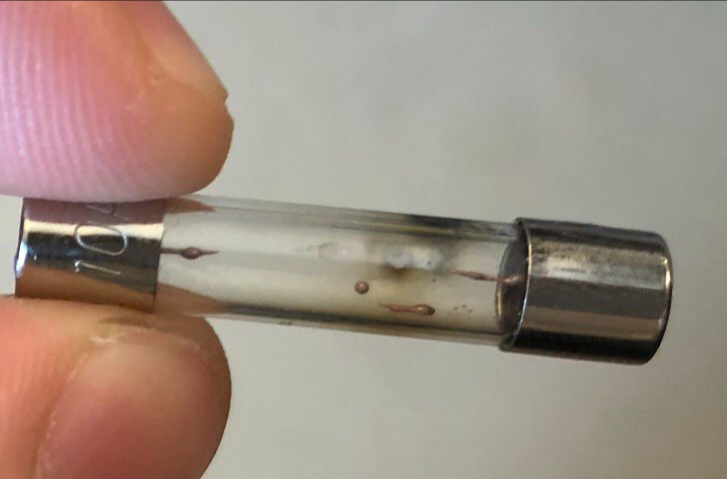
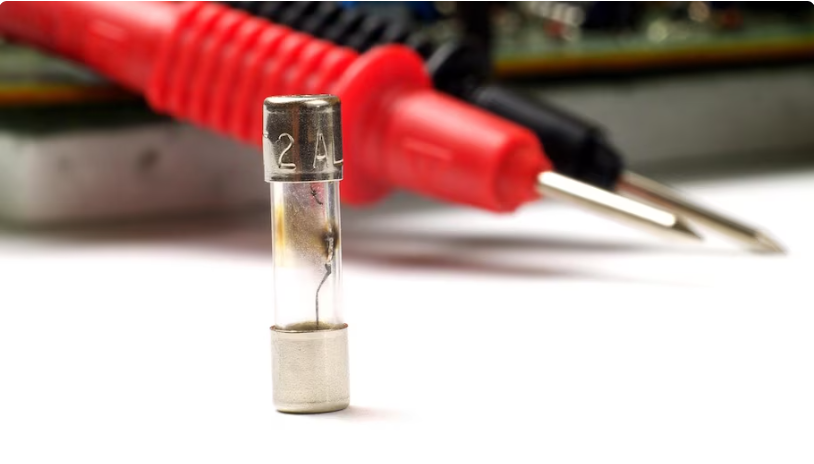
Several blown fuses display visible signs, like cracks and gray metallic ash. However, some blown fuses may appear undamaged, especially when they are not transparent, making it impossible to see inside. In such cases, you can use a multimeter, a useful tool that measures AC and DC voltage, electrical resistance, and current flow. Here's a straightforward method for using a multimeter to test fuses that seem suspicious.
-
Turn off any power leading to the circuit box from the main breaker. As an added safety precaution, wear rubber gloves and stand on a rubber mat before removing the fuses.
-
Remove any fuses you want to check. To remove a fuse, just pull it out of the slot (this is why the gloves come in handy, as does shutting off the power).
-
Turn the dial on the multimeter so it is set to “continuity.” You can use the Ohm setting here but this is the quicker option.
-
Before testing the fuses, put the positive and negative leads together and listen for a beep. This indicates that the multimeter is functioning properly.
-
Put each lead on either side of the fuse. Fuses are simple, containing just a single wire, so it does not matter which lead goes where. Positive, negative, it’s all the same to a fuse.
-
Hold the leads against the fuse and listen for continuous beeping, as this indicates a fuse is in good working order. If you don’t hear anything at all, or only sporadic beeping, the fuse is blown.
-
If you are using a digital multimeter, receiving a reading of “OL”, “Open, or “Not Complete,” or getting no reading at all indicates a blown fuse.
-
Rinse and repeat, as a standard fuse box contains anywhere from six to 12 fuses, or more in some cases.


